

What is image optimization, and why is it so important for your e-commerce?
Image optimization means reducing the weight of the file without significantly reducing the quality of the file; this is very important so that your page looks good and does not take time to load. It is also related to correctly naming your images to appear better positioned in Google and other search engines – SEO.
What will we learn from optimization?
- What images do we use in e-commerce?
- How should we name and save the files?
- What type of file should we use?
- How to work the files?
- Programs we recommend
- Free resources we recommend
Before continuing … some concepts you should know:
File weight
How heavy is the file that you will upload to your page, for the web we recommend working with files that do not exceed 1MB.
Image size
How long is your image, on the web we use the measurement in pixels.
Type of file
In what format will you save your file and with what color profile, for the web it works in RGB. The file types we generally use are jpg, png, and gif.
1. What images do we use in e-commerce?
Based on our experience in Hajandola, we work with the following categories of images:
- Product images
- Graphics for Home
- Charts for collection pages *
- Charts for content pages *
* These are optional categories according to the style and content of each e-commerce.
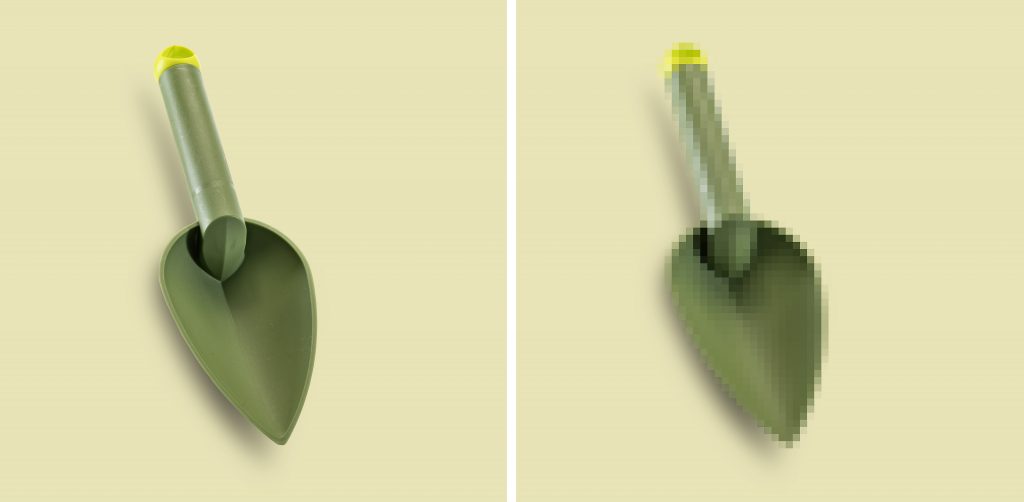
Product images
They are the images that will show what products or services you sell, you can work them in 3 formats: horizontal, vertical or square. The minimum size we recommend using is 1000px, which would apply like this:
- Horizontal: width (value greater than 1000px) x height (1000px)
- Vertical: height (value greater than 1000 px) x width (1000 px)
- Square: height (1000 px) x width (1000 px)
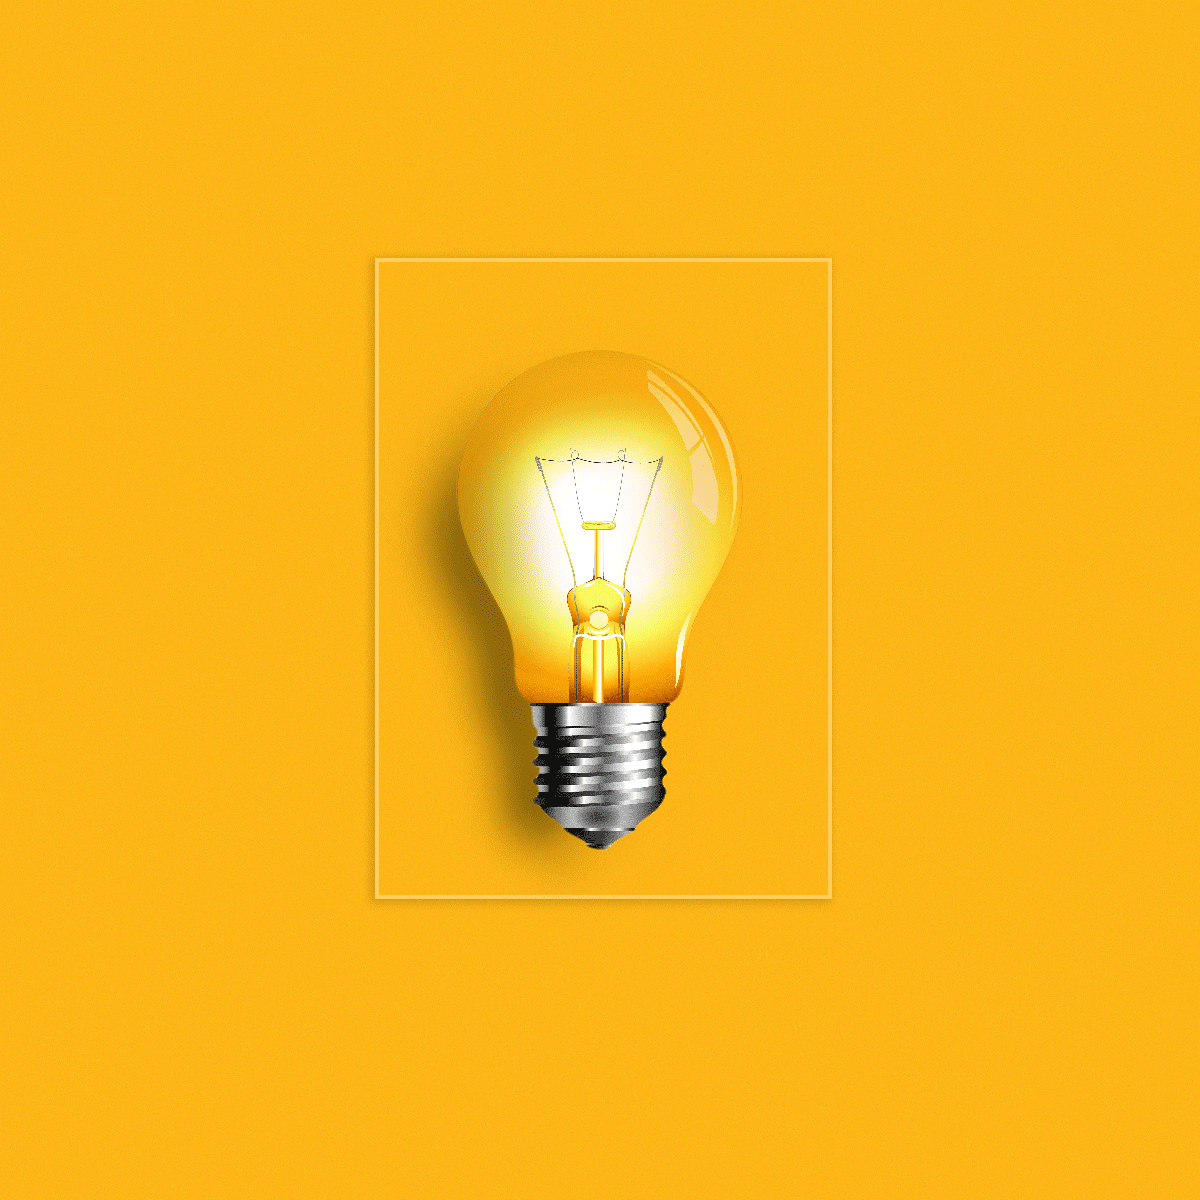
Graphics for Home
They are the images that you will use on your home page (home), here in addition to showing products the idea is to show concepts related to your brand , with your speech, and above all, to structure this page so that user navigation is adequate and as directed as possible.
The images will help highlight content and direct each person on their journey through your e-commerce.
Charts for collection pages and for content pages
These are images that you can use to enhance each of these sections, it will depend on the template you are using how you can integrate them. In the case of collection images, they are useful to show the product in use or the service experience, while content images help to show in a friendly way content that you would otherwise have to write (and we all know that almost nobody reads !)
2. How should we name and save the files
How we name the images will help us with SEO, but also to organize and facilitate the search processes of both the users on the page, as well as ours in our folders and files (the end or end02 here is not very useful)
Product images
If you have SKU
- Sku_productname_brand.jpg
- Sku_productname_variant_brand.jpg
If you don’t have SKU
- Product_name_brand.jpg
- Productname_variant_brand.jpg
Graphics for home
We recommend that the name of the image refer to the brand and the section in which it is being used.
- Bannerslidehome_brandname.jpg
- Bannercoleccionmujerhome_clippingpathasia.jpg
- Backgroundnewsletterhome_clippingpathasia.jpg
- Logo_clippingpathasia.jpg
And so on according to the section, they are using
3. What type of file should we use
As we explained before, when we design or create e-commerce images in general, we work with the following formats: jpg, png, and gif.
To know which of them to work with, we recommend, based on our experience with the different templates we have worked with in Shopify, the following:
JPG
Photographic images without text
PNG
Photographic images with text
Vector images
Images with transparent background
GIF
Animated images
VIDEOS
We recommend uploading them to YouTube or Vimeo and from that platform link to your website. Remember that autoplay no longer works if you have a video with audio.
4. How to work the files
In general, we recommend working with image editing programs for the files that you will use on your websites, such as Photoshop or Illustrator.
JPG and PNG images
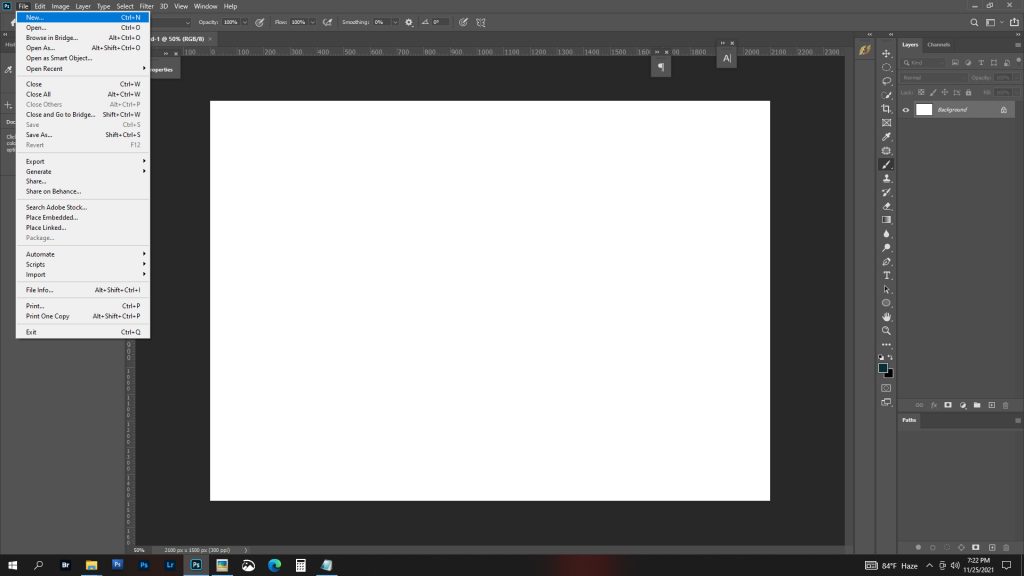
Step 1
To create a new file in Photoshop, you must go to the File> New window
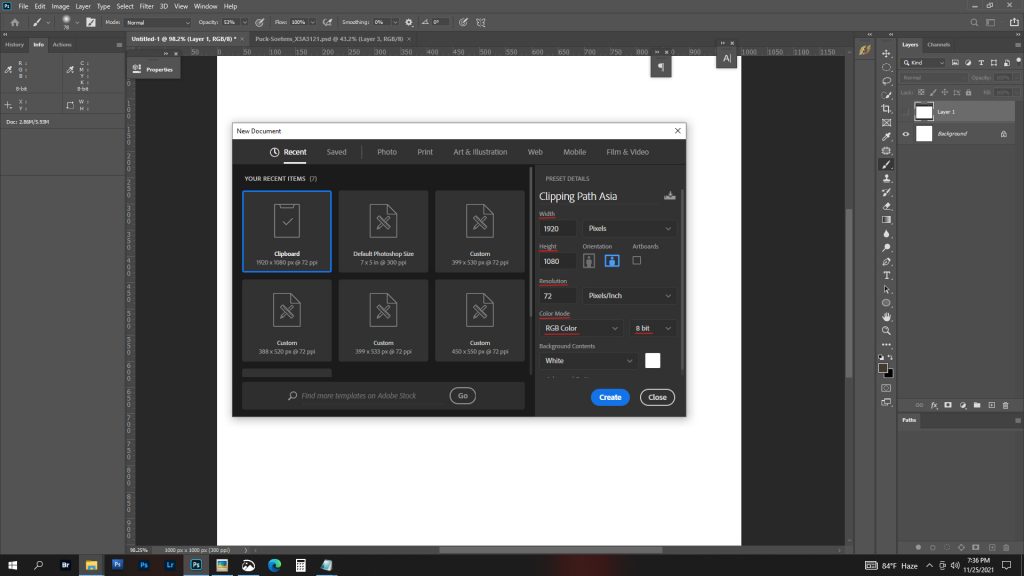
Step 2
Define the measurements of your file, resolution, and the most relevant thing that is in RGB Color Mode
Step 3
Once your image is ready you must export it for web File> export> Save for web
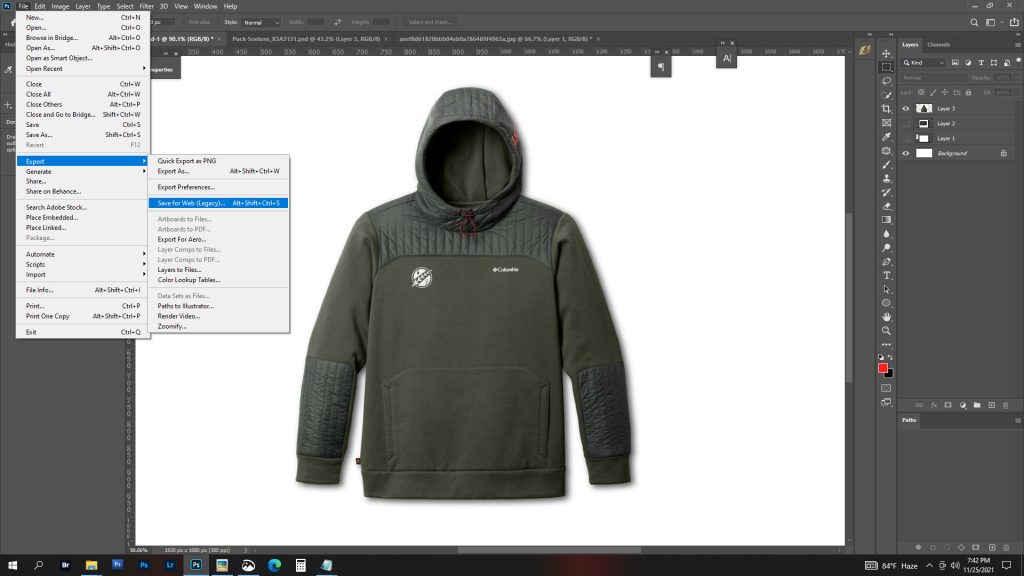
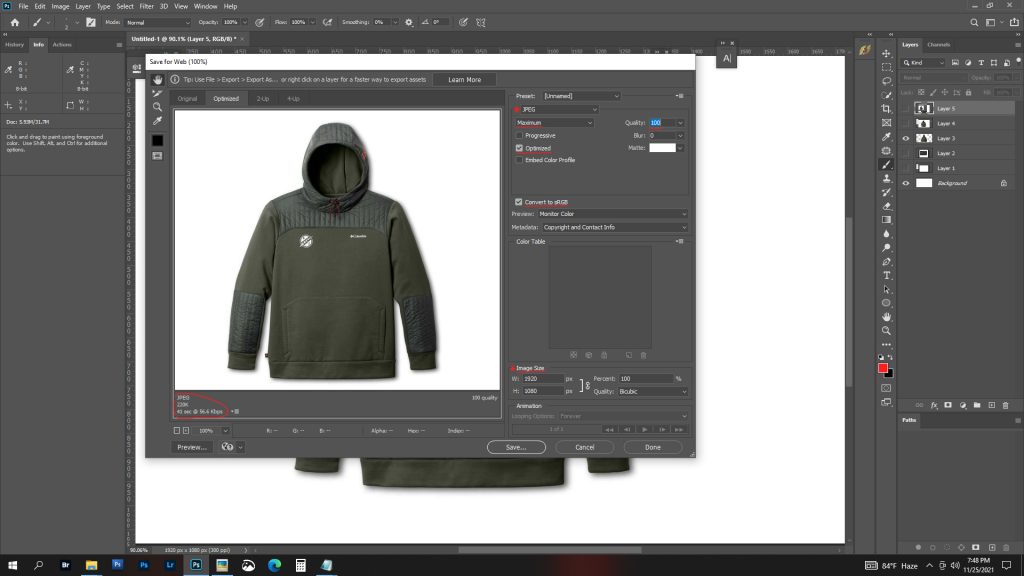
Step 4
In the options on the right side, you choose the type of file, in this case, JPG, then the quality, in addition to activating the optimized box. In the lower-left, you can see the weight of the file, and in the lower right the size. The most important thing here is that the convert to sRGB box is checked, so the color profile will adapt to the colors on the screen.
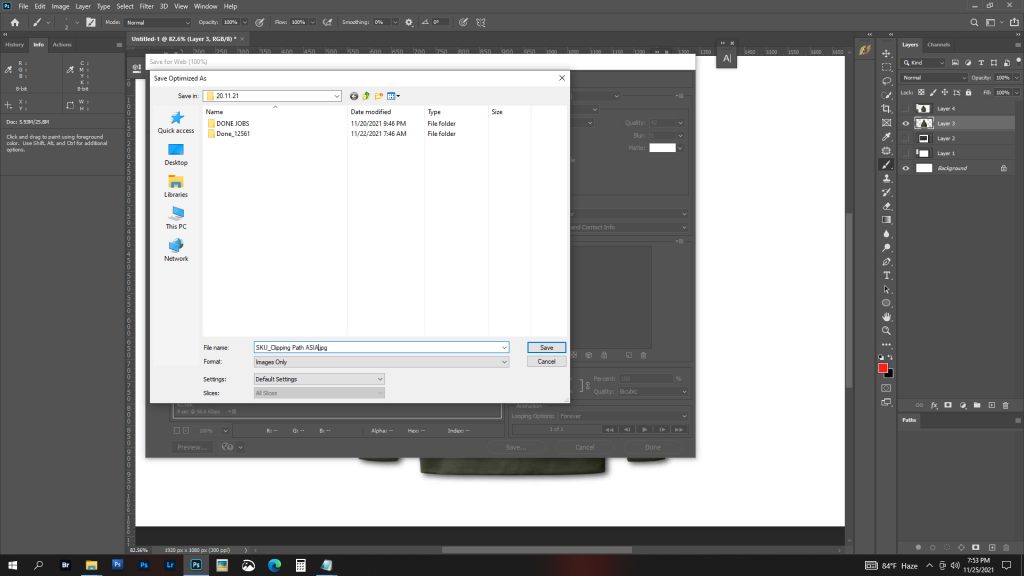
Step 5
You save with the name indicated according to the file for SEO
For PNG file
As we explained before, if the graphic has a typographic or vector element, it is better to save the file as PNG, for that you must follow the same steps above (up to 4), but instead of selecting JPG, you select PNG.
For PNG file with transparent background
To preserve the transparent background of your file you must save your graphic as PNG, the only difference with the previous step is that this time you must select the Transparency box.

5. Programs we recommend
Image edition
- Photoshop / Lightroom / Illustrator
6. Free resources we recommend
Online Image Editors
Google images for commercial use
Vector image bank, icons, and photographic
Speed up your editing process using our photo editing service (start your 3 Images free trial now)

0 Comments